Imagine this: you’re deep into a binge-watch session or finally enjoying a moment of peace, and suddenly, your phone buzzes like it’s auditioning for a role in a horror movie. Sound familiar? The Do Not Disturb feature on an iPhone is your secret weapon against those pesky interruptions. But where on earth is that elusive button hiding?
Understanding Do Not Disturb
Do Not Disturb offers a way to silence notifications and calls, providing uninterrupted moments of focus or relaxation. Users can enable this feature quickly, ensuring peace during activities like watching movies or working. Understanding its settings enhances control over notifications.
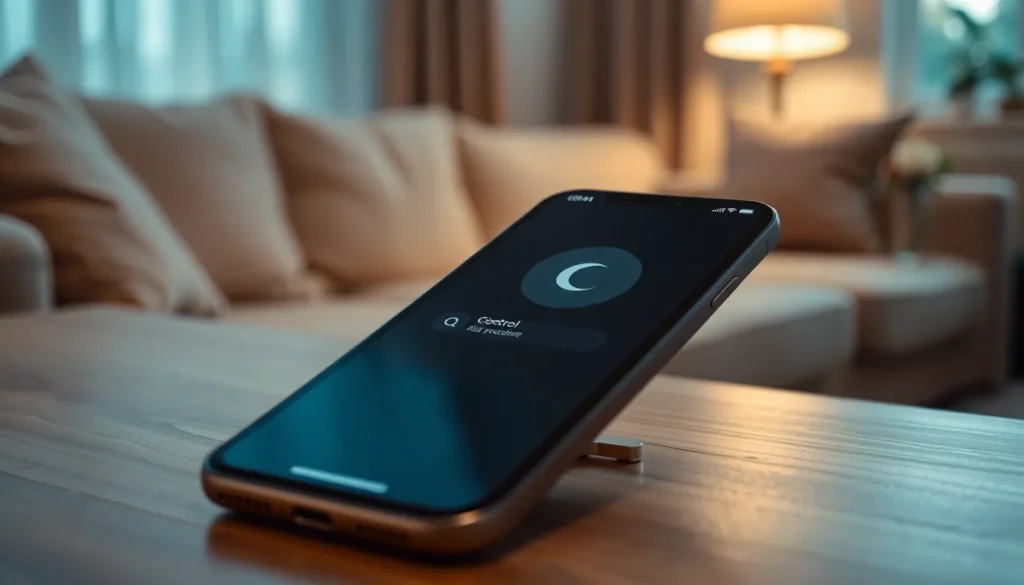
The feature can be accessed through the Control Center, a pivotal component for quick adjustments. By swiping down from the top-right corner of the screen on newer models or up from the bottom on older ones, they reveal the Control Center. A crescent moon icon symbolizes the Do Not Disturb function.
Tapping the crescent moon icon activates Do Not Disturb. Users can adjust settings by going to Settings, then selecting Do Not Disturb. Selecting whether to allow calls from favorites or repeated calls enhances customization. This means important callers can still reach them if needed.
Scheduled periods for Do Not Disturb can also be set. By choosing specific hours, users ensure silence on their devices during chosen times. This feature works well for maintaining a sleep schedule or focusing during work hours.
Understanding how to toggle Do Not Disturb and customize notifications significantly enhances the iPhone experience. Mastering this feature transforms how users manage their time and attention while utilizing their device.
Locating the Do Not Disturb Button

Finding the Do Not Disturb button on an iPhone is straightforward once users know where to look. It can be accessed in two main ways: through Settings and the Control Center.
Accessing Through Settings
Navigation to the Do Not Disturb feature starts in the Settings app. Users tap on Settings, then select Focus. Within this menu, Do Not Disturb appears as an option. Tapping on it reveals further settings. Customization options include scheduling, allowing calls from contacts, and adjusting notifications. Users can prioritize who can reach them even when Do Not Disturb is enabled. This feature is especially valuable for ensuring important calls come through during designated quiet time.
Using Control Center
The Control Center provides a quick way to activate Do Not Disturb. Users swipe down from the top right corner on iPhones with Face ID or swipe up from the bottom on older models. A crescent moon icon symbolizes the Do Not Disturb mode; tapping it activates the feature instantly. This method offers an easy toggle for immediate needs. Quick access through Control Center means interruptions are significantly reduced during personal time or important tasks.
Customizing Do Not Disturb Settings
Customizing Do Not Disturb settings enhances its usefulness on an iPhone. Users can tailor their experience for uninterrupted time according to their needs.
Scheduled Times
Scheduled times allow users to establish periods when Do Not Disturb activates automatically. Setting this feature ensures users avoid interruptions during critical hours, such as sleep or work. To schedule, navigate to the Focus settings in the Settings app. Select the “Add Schedule” option, and choose days and times. This customization helps maintain a consistent routine while enhancing focus.
Allowing Calls
Allowing calls from specific contacts ensures important communications aren’t missed. Users can permit calls from favorites or repeated callers, providing flexibility. To make these adjustments, go to Do Not Disturb settings within the Focus menu. Select “People” and add contacts under “Allow Calls From.” This prioritization allows key connections to reach you without compromising overall peace.
Troubleshooting Do Not Disturb Issues
Ensuring the Do Not Disturb feature works properly requires attention to various settings. Check if Do Not Disturb is enabled by swiping into the Control Center. Look for the crescent moon icon to confirm it’s active.
Navigating through settings can also help troubleshoot. Users can access the Settings app, head to Focus, and select Do Not Disturb. This section includes options for scheduling and prioritizing contacts.
Adjusting contact settings is crucial for effective usage. Recipients can allow calls from certain groups, such as favorites or repeated callers, preventing essential notifications from being silenced. This can be modified under “Allow Calls From” in the Do Not Disturb settings.
Reviewing scheduled times can resolve issues as well. Accessing the “Add Schedule” option in the Focus settings enables users to set specific hours for Do Not Disturb activation. It’s beneficial for maintaining focus during work hours or ensuring uninterrupted sleep.
Resetting settings may be necessary for persistent problems. Users can try toggling Do Not Disturb off and on again. Restarting the iPhone can also help refresh the feature.
Testing the functionality after making adjustments is important. Make a call or send a text from another device to verify if notifications stay muted. Observing these results confirms whether the settings are correctly applied.
Finding the Do Not Disturb button on an iPhone can significantly enhance one’s experience by minimizing distractions. By utilizing this feature users can enjoy uninterrupted moments whether they’re watching a show or focusing on work. Customization options allow for flexibility ensuring important contacts can still reach them when needed.
Troubleshooting any issues with Do Not Disturb is essential for optimal use. Regularly checking settings and scheduled times can ensure that the feature works effectively. With these tips in mind users can confidently navigate their iPhone’s settings and take full advantage of the Do Not Disturb functionality.


